|
| EMERGENCY METHOD |

|
| DO NOT RIDE WHEN RIGGED THIS WAY |
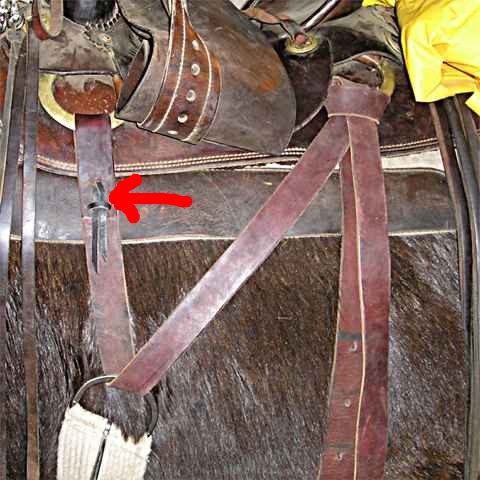
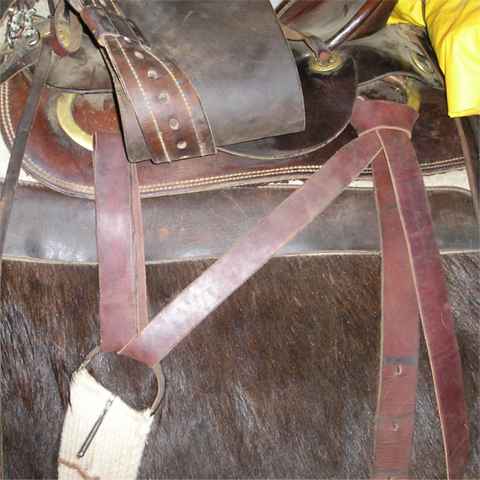
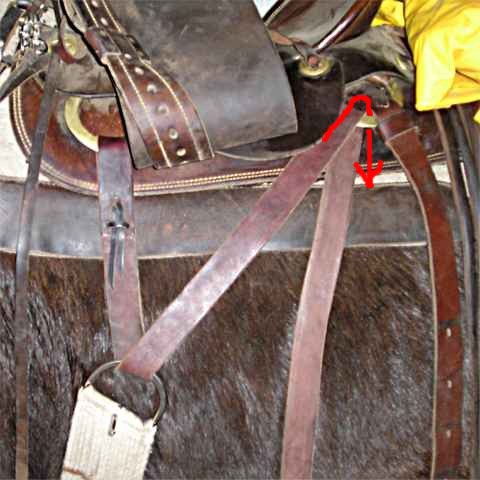
This is an emergency V rigging method. If your horse gets galled in the girth area, V rigging
like this can be used to move the cinch back off of the gall. It can be done with a common, short length, latigo.
It is important to note that a saddle should not be ridden in rigged in this fashion. The 3-hole
lacing knot (red arrow) is not strong enough on it's own to hold the saddle with a rider. It will break under stress, if not
covered with another lap of the latigo. But this method will allow the horse to carry the saddle back to camp.
Method 1 (knot on rear saddle ring)
| STEP 1 |

|
| STEP 2 |

|
Start your latigo in the normal fashion. Go down through the inside of the cinch ring
(step 1) and then back up to the front saddle ring and in through the outside of it, coming out and down from the back (step
2).
| STEP 3 |

|
| STEP 4 |

|
Then head down through the inside of the cinch ring again as you would if you were going to buckle
it with the cinch ring tongue (step 3). But instead of buckling it you take it up to the back saddle ring and through
from the outside (step 4). Tie it off at that point (step 5). If you prefer to buckle the strap instead of
tying off, you can come back down through the cinch ring and buckle it with the tongue (alt. step 6).
| STEP 5 |

|
| ALTERNANT STEP 5 |

|
This method puts the knot on the back saddle ring, out of the way of the riders leg. It also puts
2/3rds of the tension on the front saddle ring.
Method 2 (knot on front saddle ring)
| STEP 1 |

|
| STEP 2 |

|
Starting in the same way as Method 1, go down through the inside of the cinch ring with the latigo
(step 1). Next take it back to the rear saddle ring and in through the outside of the ring and down
(step 2).
| STEP 3 |

|
| STEP 4 |

|
Thread the latigo back down through the inside of the cinch ring again (step 3). Then go up
to the front saddle ring with the latigo and tie it off (step 4).
If you prefer to buckle the latigo, instead of tying off, then you take it through the front ring,
from the outside, and go back down to the cinch ring from the inside and buckle it with the cinch ring tongue (alt. step 4).
| ALTERNET STEP 4 |

|
Method 2 applies tension more evenly between the saddle rings. It also allows the end flap
of the latigo to hang in a rearward fashion when using the buckle to fasten it.
When tying it off, the knot is up front where it can rub against your leg. If your front
saddle ring is rigged "full" as the one in the photo is, then the knot stays out in front of your leg. If your front
saddle ring is rigged 7/8ths or 3/4 then it may be a problem.
| LATIGO PUT AWAY |

|
| CINCHES PUT AWAY |

|
Before removing the saddle I like to put the latigo away on the near side as shown in the first
photo, above. It is not looped through and tied off. It is folded in from the back so it draps over the ring before
tying off. Then when cinching up I can, in one motion, break the knot open, slide my fingers to the end of the latigo
and thread it down through the cinch ring while it unfolds out of the ring.
When putting away my cinches on the off side I like to run the cinch keeper through the buckles
while holding them upside down (A). This allows my cinches to hang without a twist in them (B&C) as in the
second photo, above.
|

